Making a Tesla coil secondary
This is my first Tesla coil secondary. It will be wound semi-manually to get a sense of the process before attempting to automate future builds.
Design: 80mm diameter PVC pipe, 26 AWG enameled wire, 320mm height (4:1 aspect ratio).
Estimated wire needed: ~201m (based on 800 turns × π × 0.08m circumference)
I also made this calculator to assist with design:
https://harrisfauntleroy.github.io/tesla-coil-secondary-calculator
Close ups of the coil
Design Parameters:
| Parameter |
Value |
| Coil form diameter (D) |
80mm (0.08m) |
| Wire gauge |
26 AWG |
| Wire diameter (d) |
~0.45mm (measured) |
| Target winding height |
320mm |
| Aspect ratio |
4:1 |
Measured Properties:
| Property |
Measured/Actual |
| DC Resistance |
28Ω |
| Turns |
823 (calculated) |
| Wire Length |
207m (calculated) |
| Inductance (L) |
? |
| Capacitance (C) |
? |
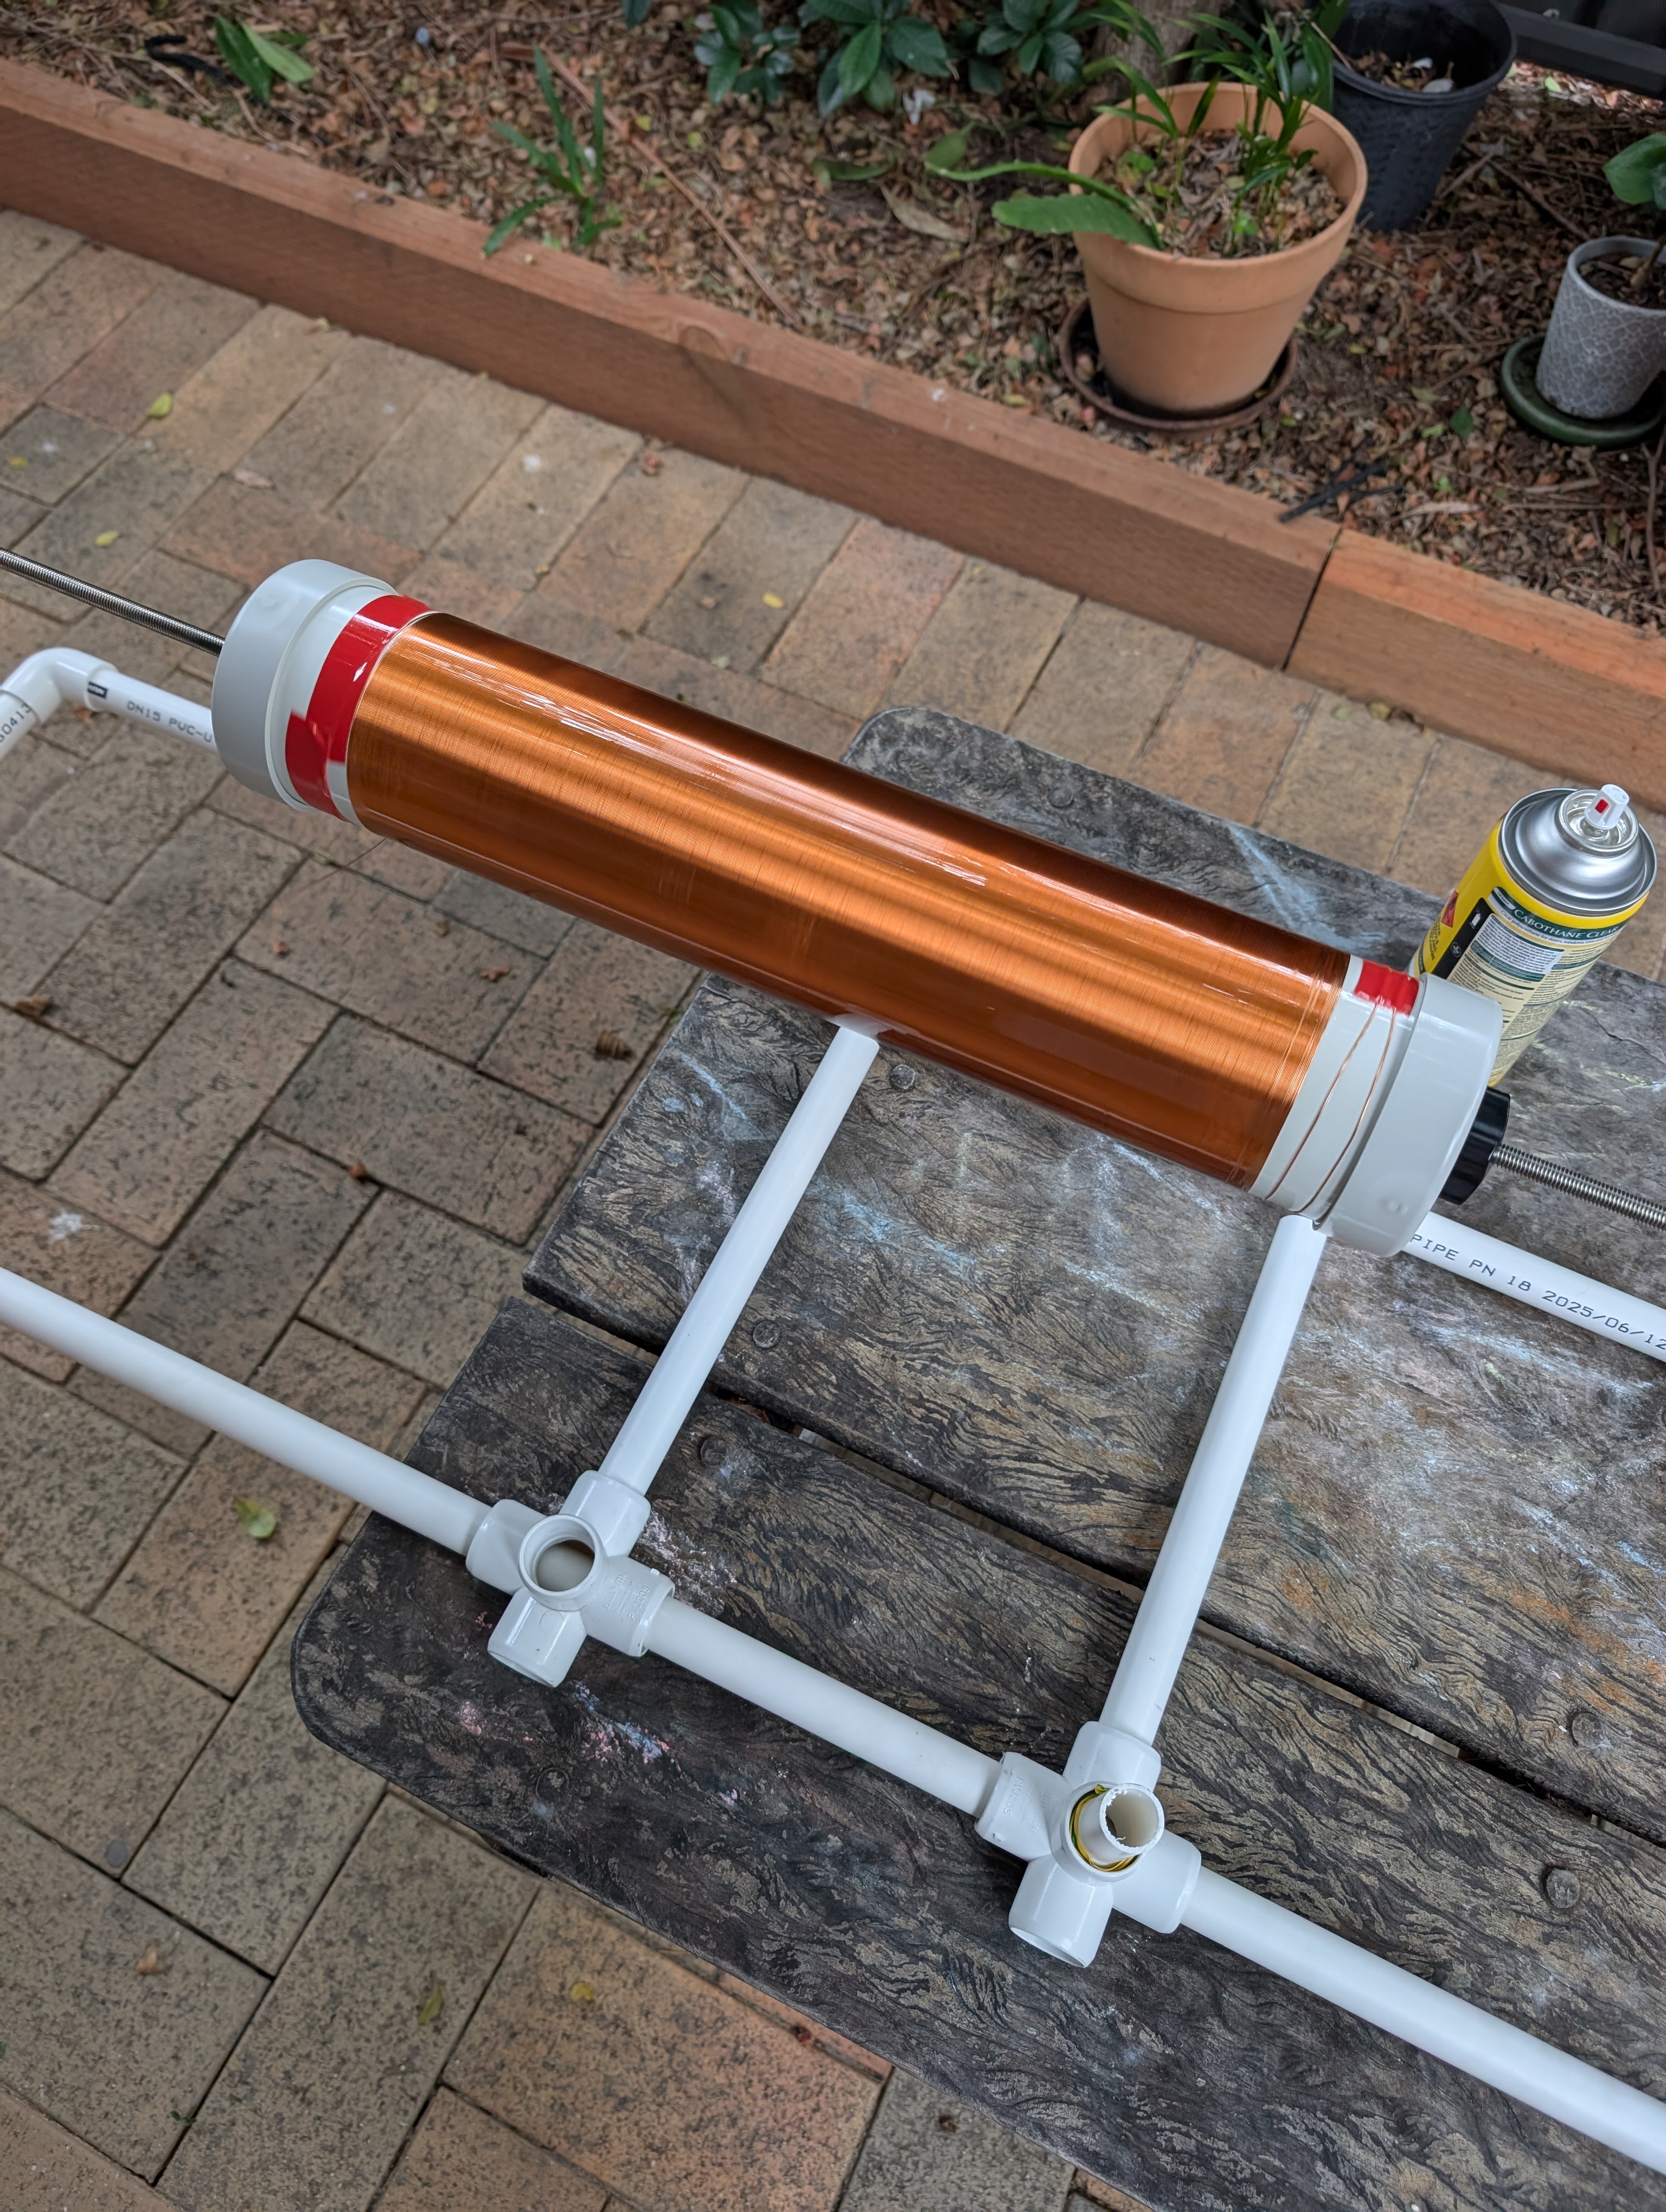
Process with images
Preparing the coil form and rig. Used a variety of 15mm PVC pipe pieces to make the rig.
Winding the coil, used a hand drill to turn the coil form while hand guiding the wire, keeping layers close by guiding it with a piece of plastic.
Applying spray on polyurethane lacquer. Will likely do multiple coats.
Sources / Inspiration
The first gulp from the glass of natural sciences will make you an atheist, but at the bottom of the glass God is waiting for you. - Werner Heisenberg
 Forums
 Making a Tesla coil secondary
 04 Oct 2025 at 11:46 PM


Joined: Thu Jun 12 2025, 05:17AM
Location: Prague
Posts: 31
Test
The first gulp from the glass of natural sciences will make you an atheist, but at the bottom of the glass God is waiting for you. - Werner Heisenberg